

Guide for owners and administrators
Set up your organisation, bring in your staff and learners, publish your public page and keep an eye on every class.
Who this guide is for
You run your organisation's workspace. The owner is the person who registered the organisation; admins have the same console, except that only an owner changes the plan and sees invoices. Both can do everything instructors do — see the guide for instructors for the curriculum, classes and sessions.
Before you start
Your organisation is registered through the Schoolex registration form and approved by the Schoolex team. Once it is approved you have your own address, for example your-organisation.<domain>.
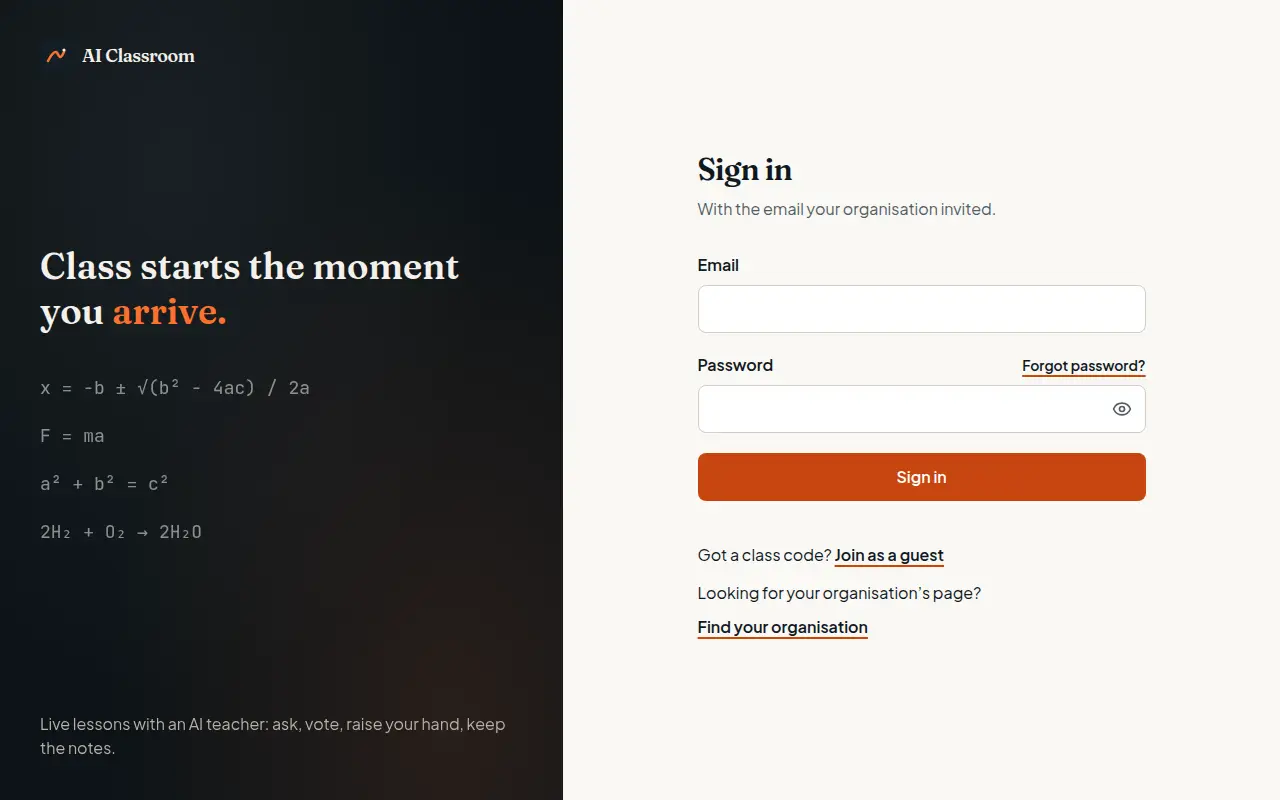
Open your organisation's address and add
/app/console— or select Staff sign-in at the foot of your public page.Owners and staff invited with a Schoolex account select Continue with Schoolex. Anyone invited by email signs in with that email and the password they chose.
You arrive on the Dashboard.
Get oriented: the Dashboard
The Dashboard shows what is live now, what is coming up today, the numbers that matter this month (active classes, learners, lesson plans and sessions) and attendance over the last 30 days. When a session is live, it appears under Live now with a link to watch it.
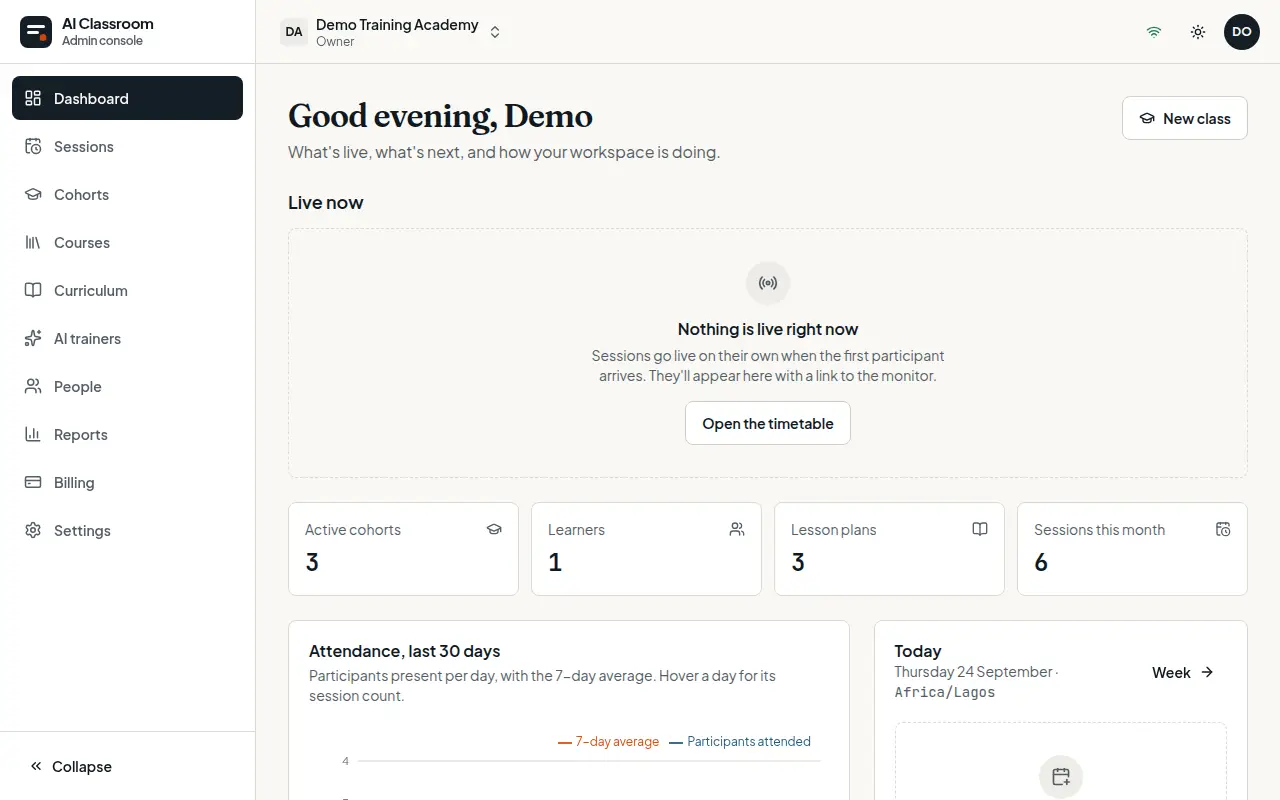
The menu on the left follows your organisation's own words: a school sees Classes, a training company Cohorts, and so on.
Bring in your people
Open People.
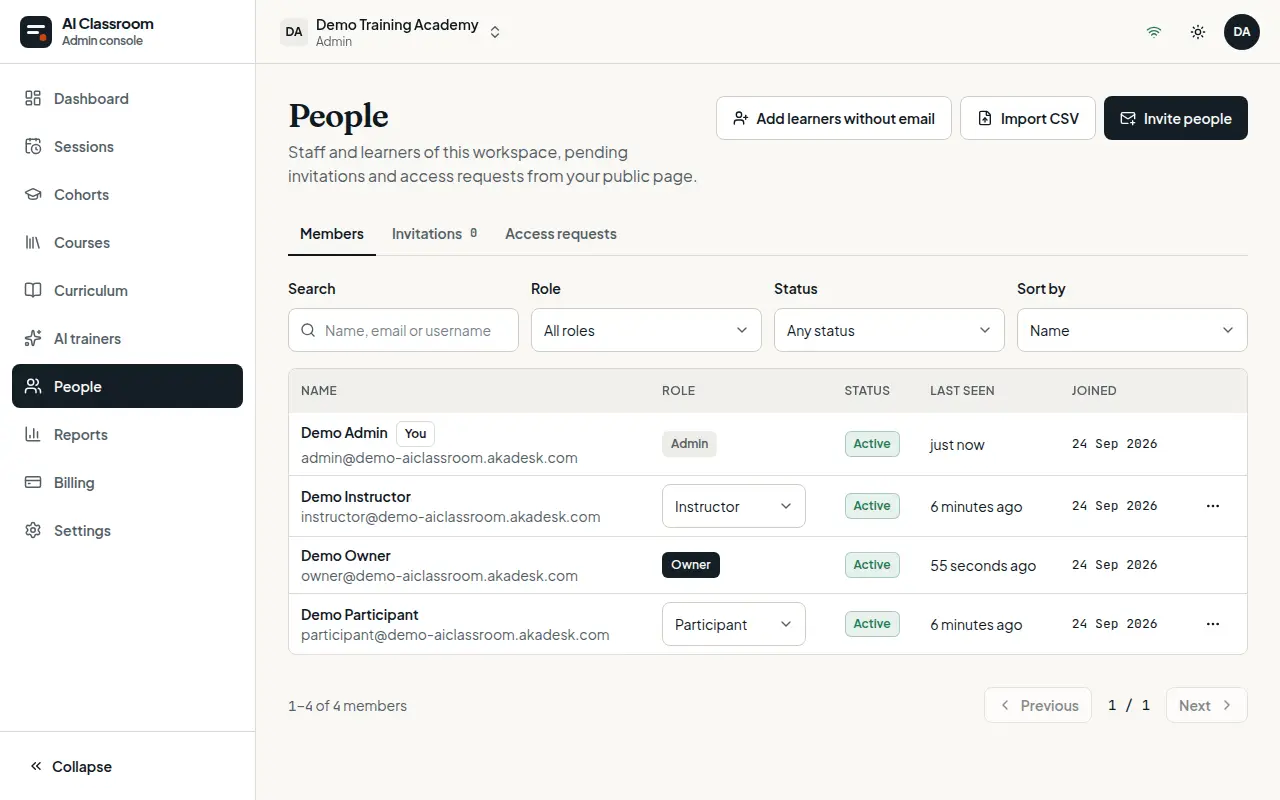
Invite people: enter their email addresses and choose a role — Admin, Instructor or Participant. Each gets an email with a link to join.
Add learners without email: for pupils too young for an email address. The school creates their accounts; they sign in with a username and password it gives them, and a parent or guardian can be added to receive class emails.
Import CSV: add many people at once from a spreadsheet.
Access requests: people who asked for a place from your public page. Approve or decline each one; an approval emails them a link to set up an account.
Open a person to change their role, see the classes they are in and their attendance, or disable their account.
Publish your public page
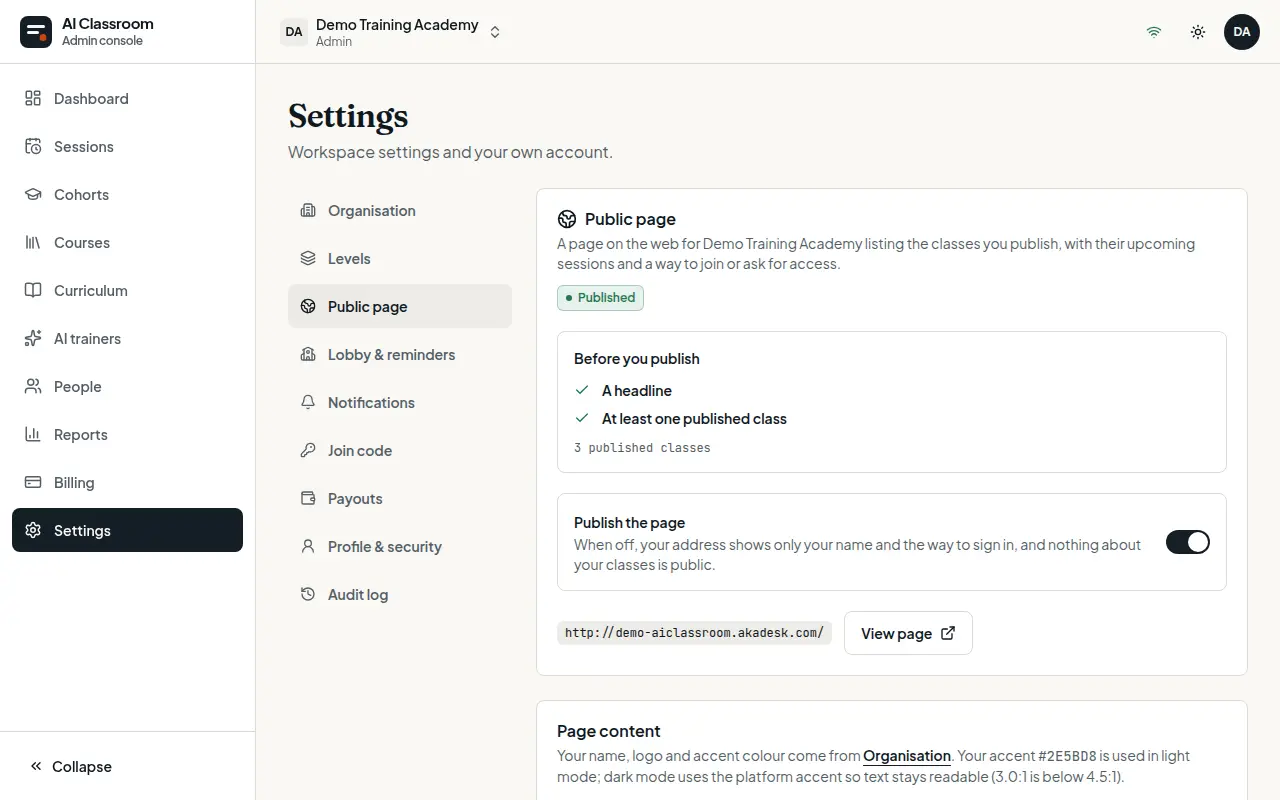
Your organisation's address shows a public page listing the classes you publish, with their upcoming sessions and the way in to each.
Open Settings and select Public page.
Write a headline and an about text, add a cover picture and your contact details.
Under Before you publish, check that you have a headline and at least one published class. To publish a class, open it and turn on Publish on public page, with a short Public summary.
Turn the page on.
How each class can be joined depends on Who can join in the class:
| Who can join | What the public page offers |
|---|---|
| Enrolled only | Request access — you approve each request in People |
| Your organisation's learners | Create an account, when self-registration is on in Settings; otherwise Request access |
| Anyone with the link | Join while the lobby is open — no account needed |
Other settings
Under Settings you will also find:
Organisation: your name, logo, colour and timezone. The colour and logo are also what your learners see when they add the app to their home screen.
Levels: the year groups, grades or levels your classes are sorted by.
Lobby & reminders: how many minutes before a session its lobby opens, and when reminders are sent.
Join code: the code learners can use to join your organisation from the app.
Audit log: who changed what, and when.
Teaching hours and your plan
Your plan includes a monthly pool of live teaching hours. Only the time a session is live counts: lobby time and sessions nobody joined are free. Open Billing to see the hours used this month, your plan and your invoices.
An owner chooses what happens when the pool runs out: a hard cap (new sessions wait until the pool resets) or pay-as-you-go above it, with an optional spending limit.
An owner can add hour packs, and pays invoices there in your country's currency.
An owner can change plan at any time. In the middle of a paid period the change is priced for the days left, and you see the amount before confirming: an upgrade is paid then and starts once paid; a downgrade starts at once and the unused days come off your next invoice.
You are warned at 80% and 100% of the pool. A session already live is never cut off.
Plans and what they include are on the pricing page.
Tips and common questions
A session did not start. Sessions start when the first participant arrives in the lobby. If nobody came, the session is marked missed and uses no hours.
Someone cannot find the class. Check Who can join and that they are enrolled, or share the class's join link.
Watch a class live. Open Sessions, select the live session and open its Live monitor: the room, the questions and the transcript as they happen.
Getting help
Email the Schoolex support address on the contact page, with your organisation's address and what you were trying to do.
Try it yourself in the live demo.